Campaigns
Last updated: March 25, 2026
Learn how Spott lets you create, manage, and track outreach campaigns to contact multiple recipients in a structured way.
You can quickly navigate to this page using G then H.
Learn more about all shortcuts here.
Campaigns in Spott allow you to contact multiple recipients through automated multi-channel sequences. Campaigns help you send personalized messages, follow up automatically, and track replies and engagement from a single place.
Each campaign consists of of one or a sequence of steps, enrolled recipients, and timing rules that define when messages are sent.
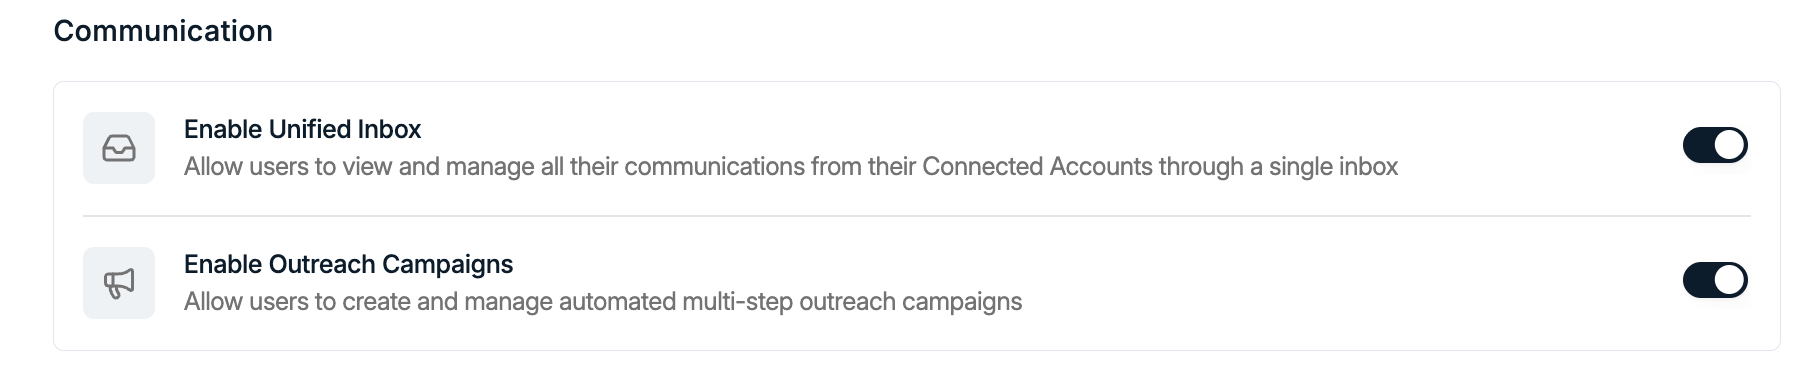
Make sure Outreach Campaigns are enabled in the settings before proceeding. You can find this under Settings > Features > Communication.
Create a new outreach campaign
1⃣ Navigate to Campaigns
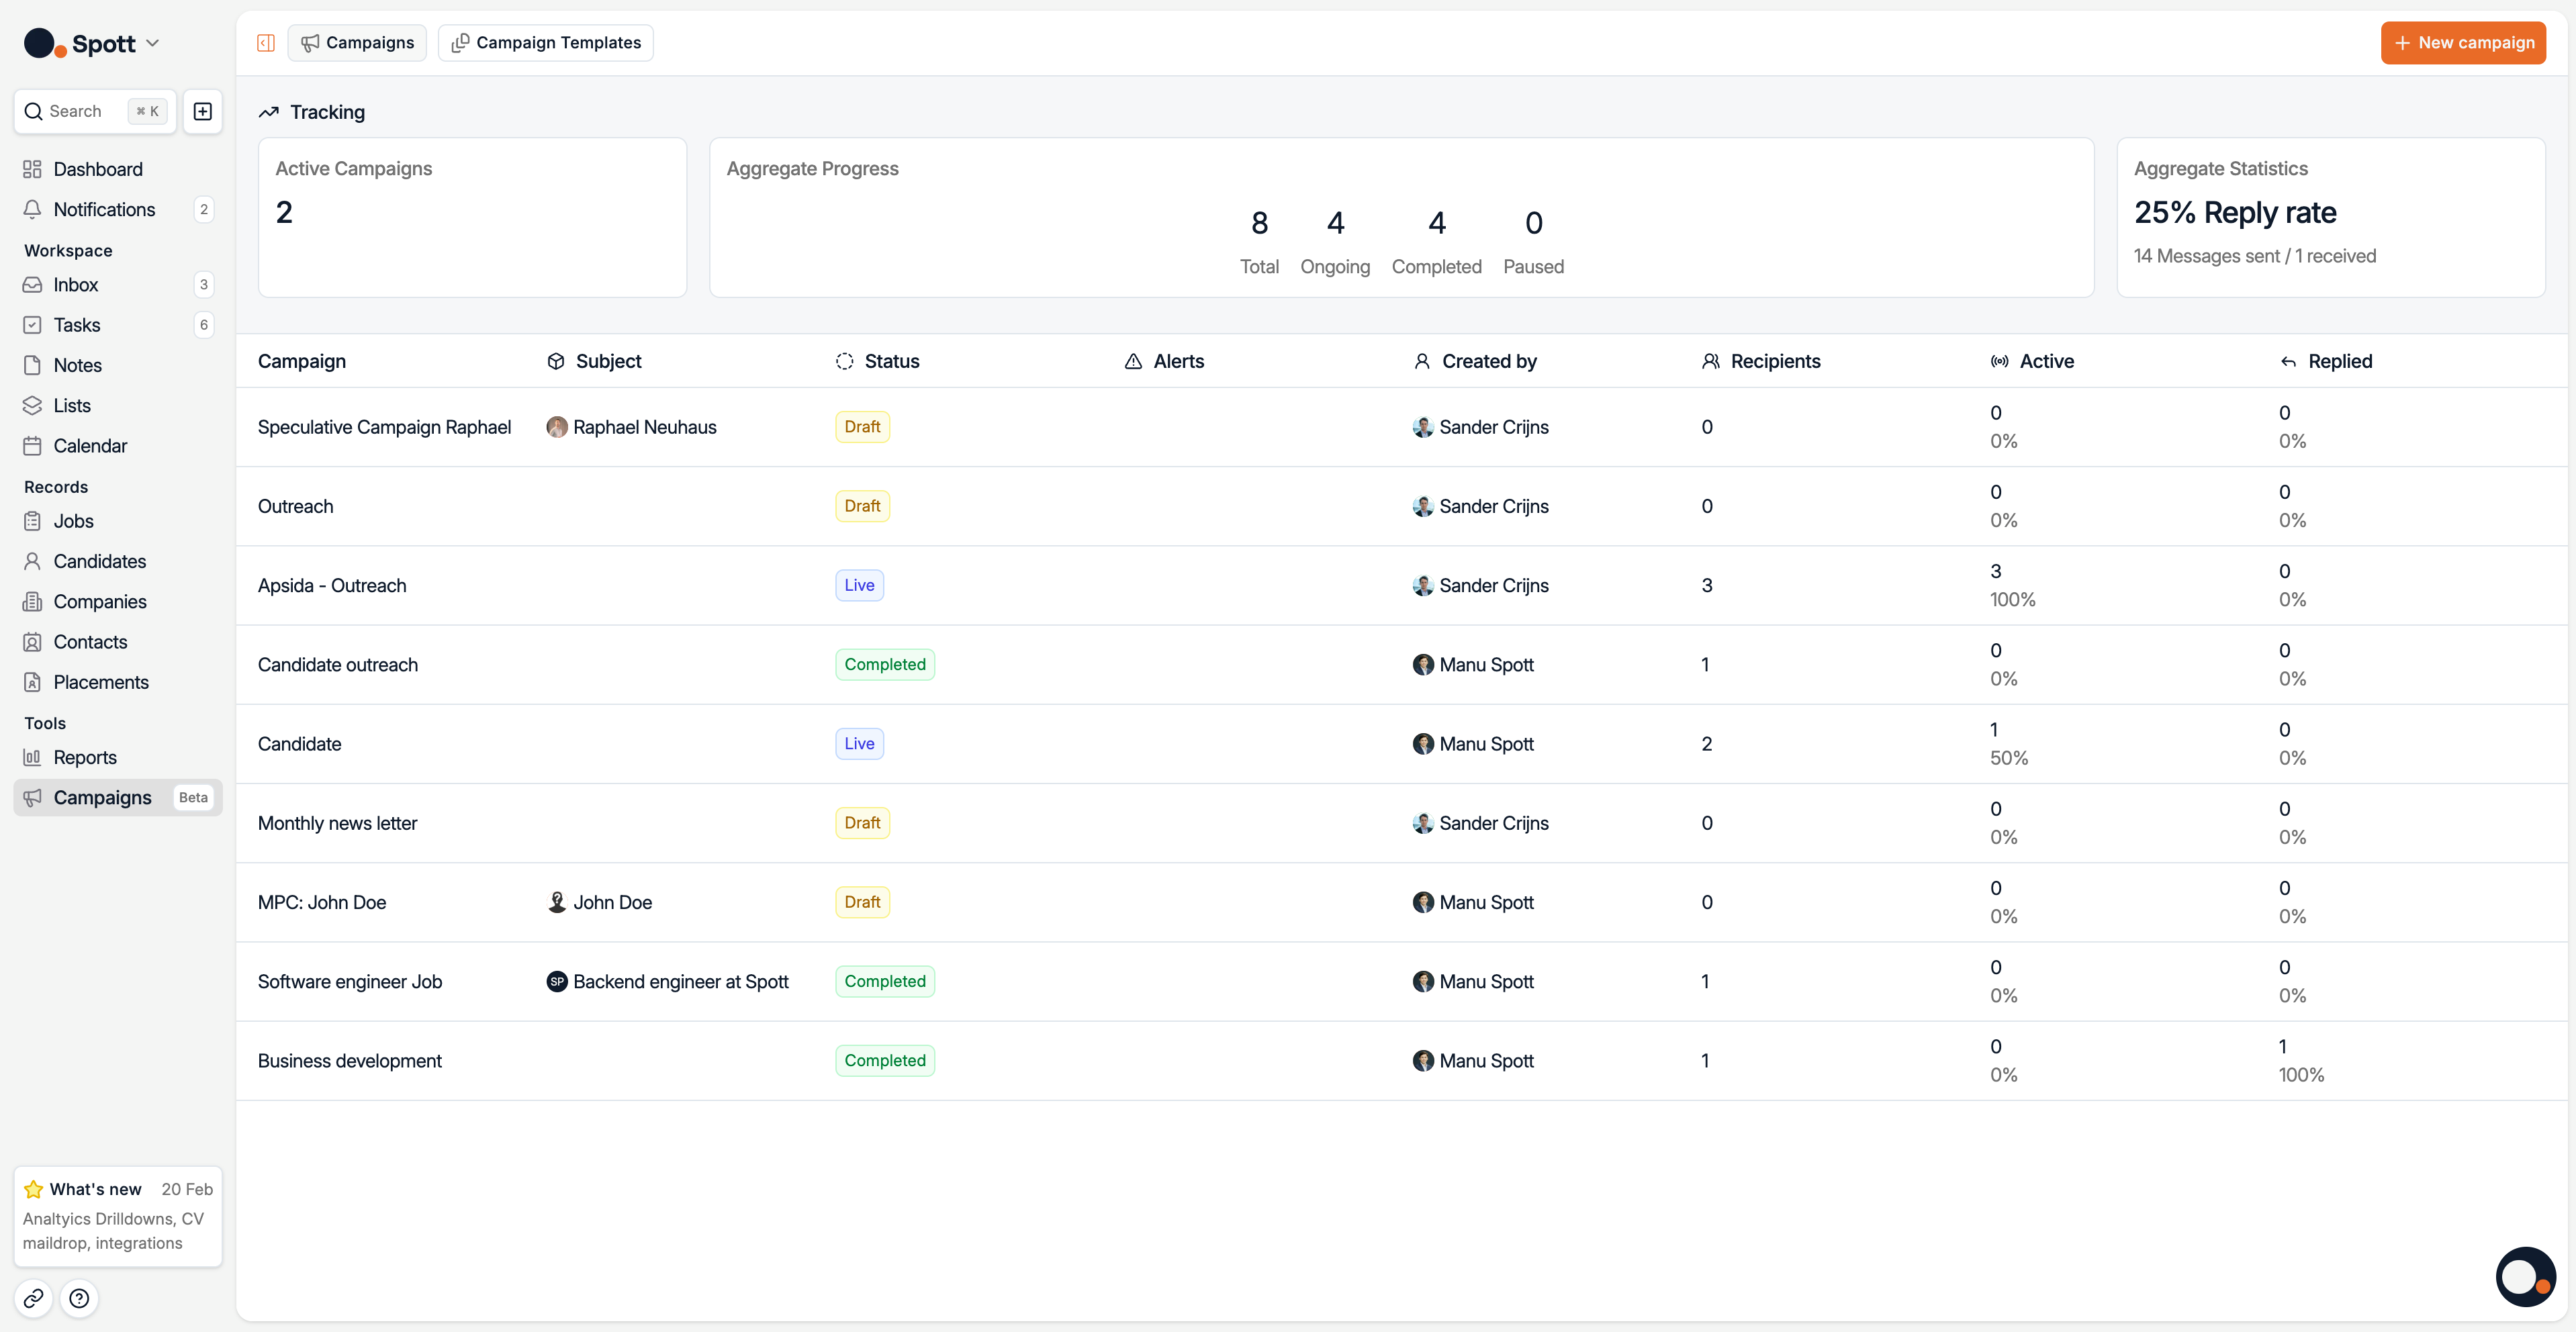
In Spott, go to Campaigns
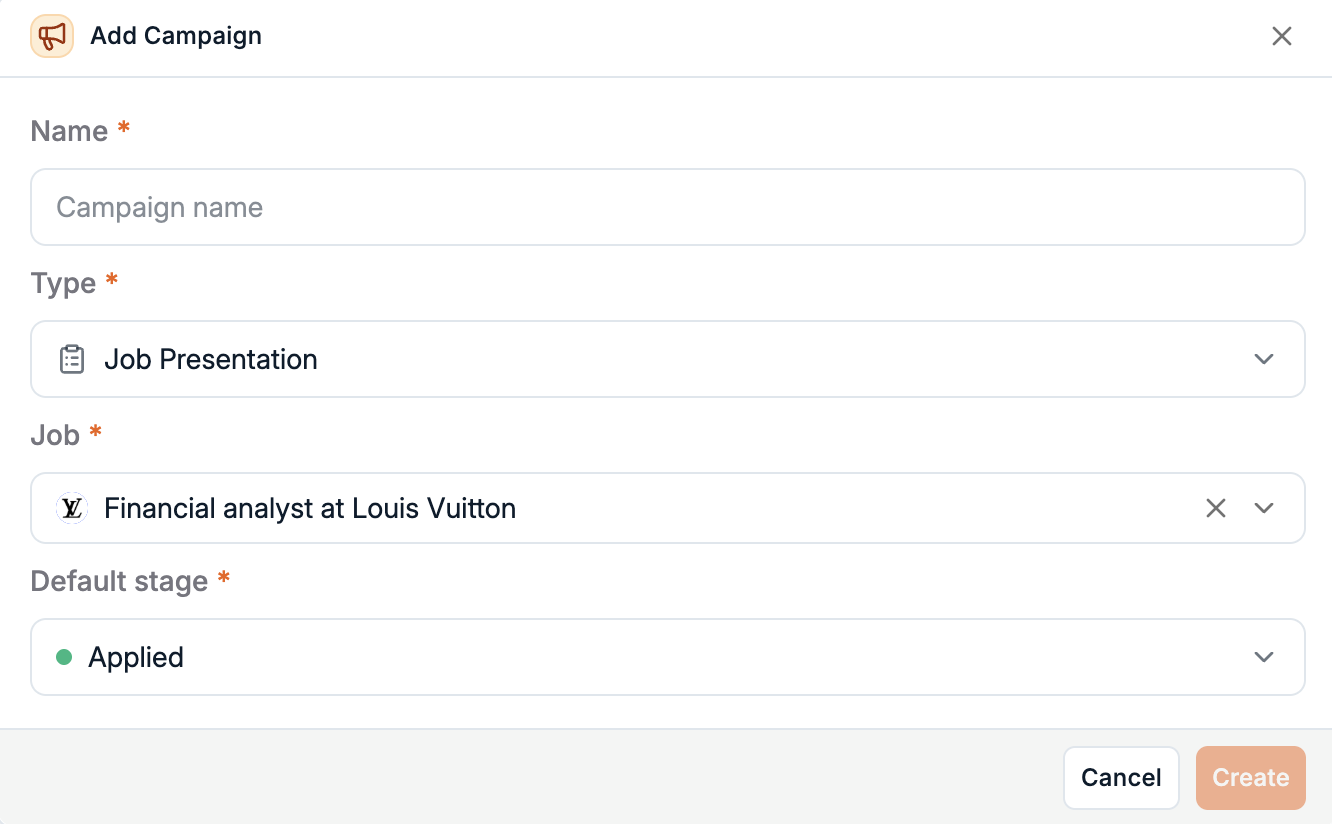
Click New campaign in the top right
Give your campaign a name, a type, a job, and a default stage
You can also create Campaigns from a template, so you can reuse best practices from other sequences
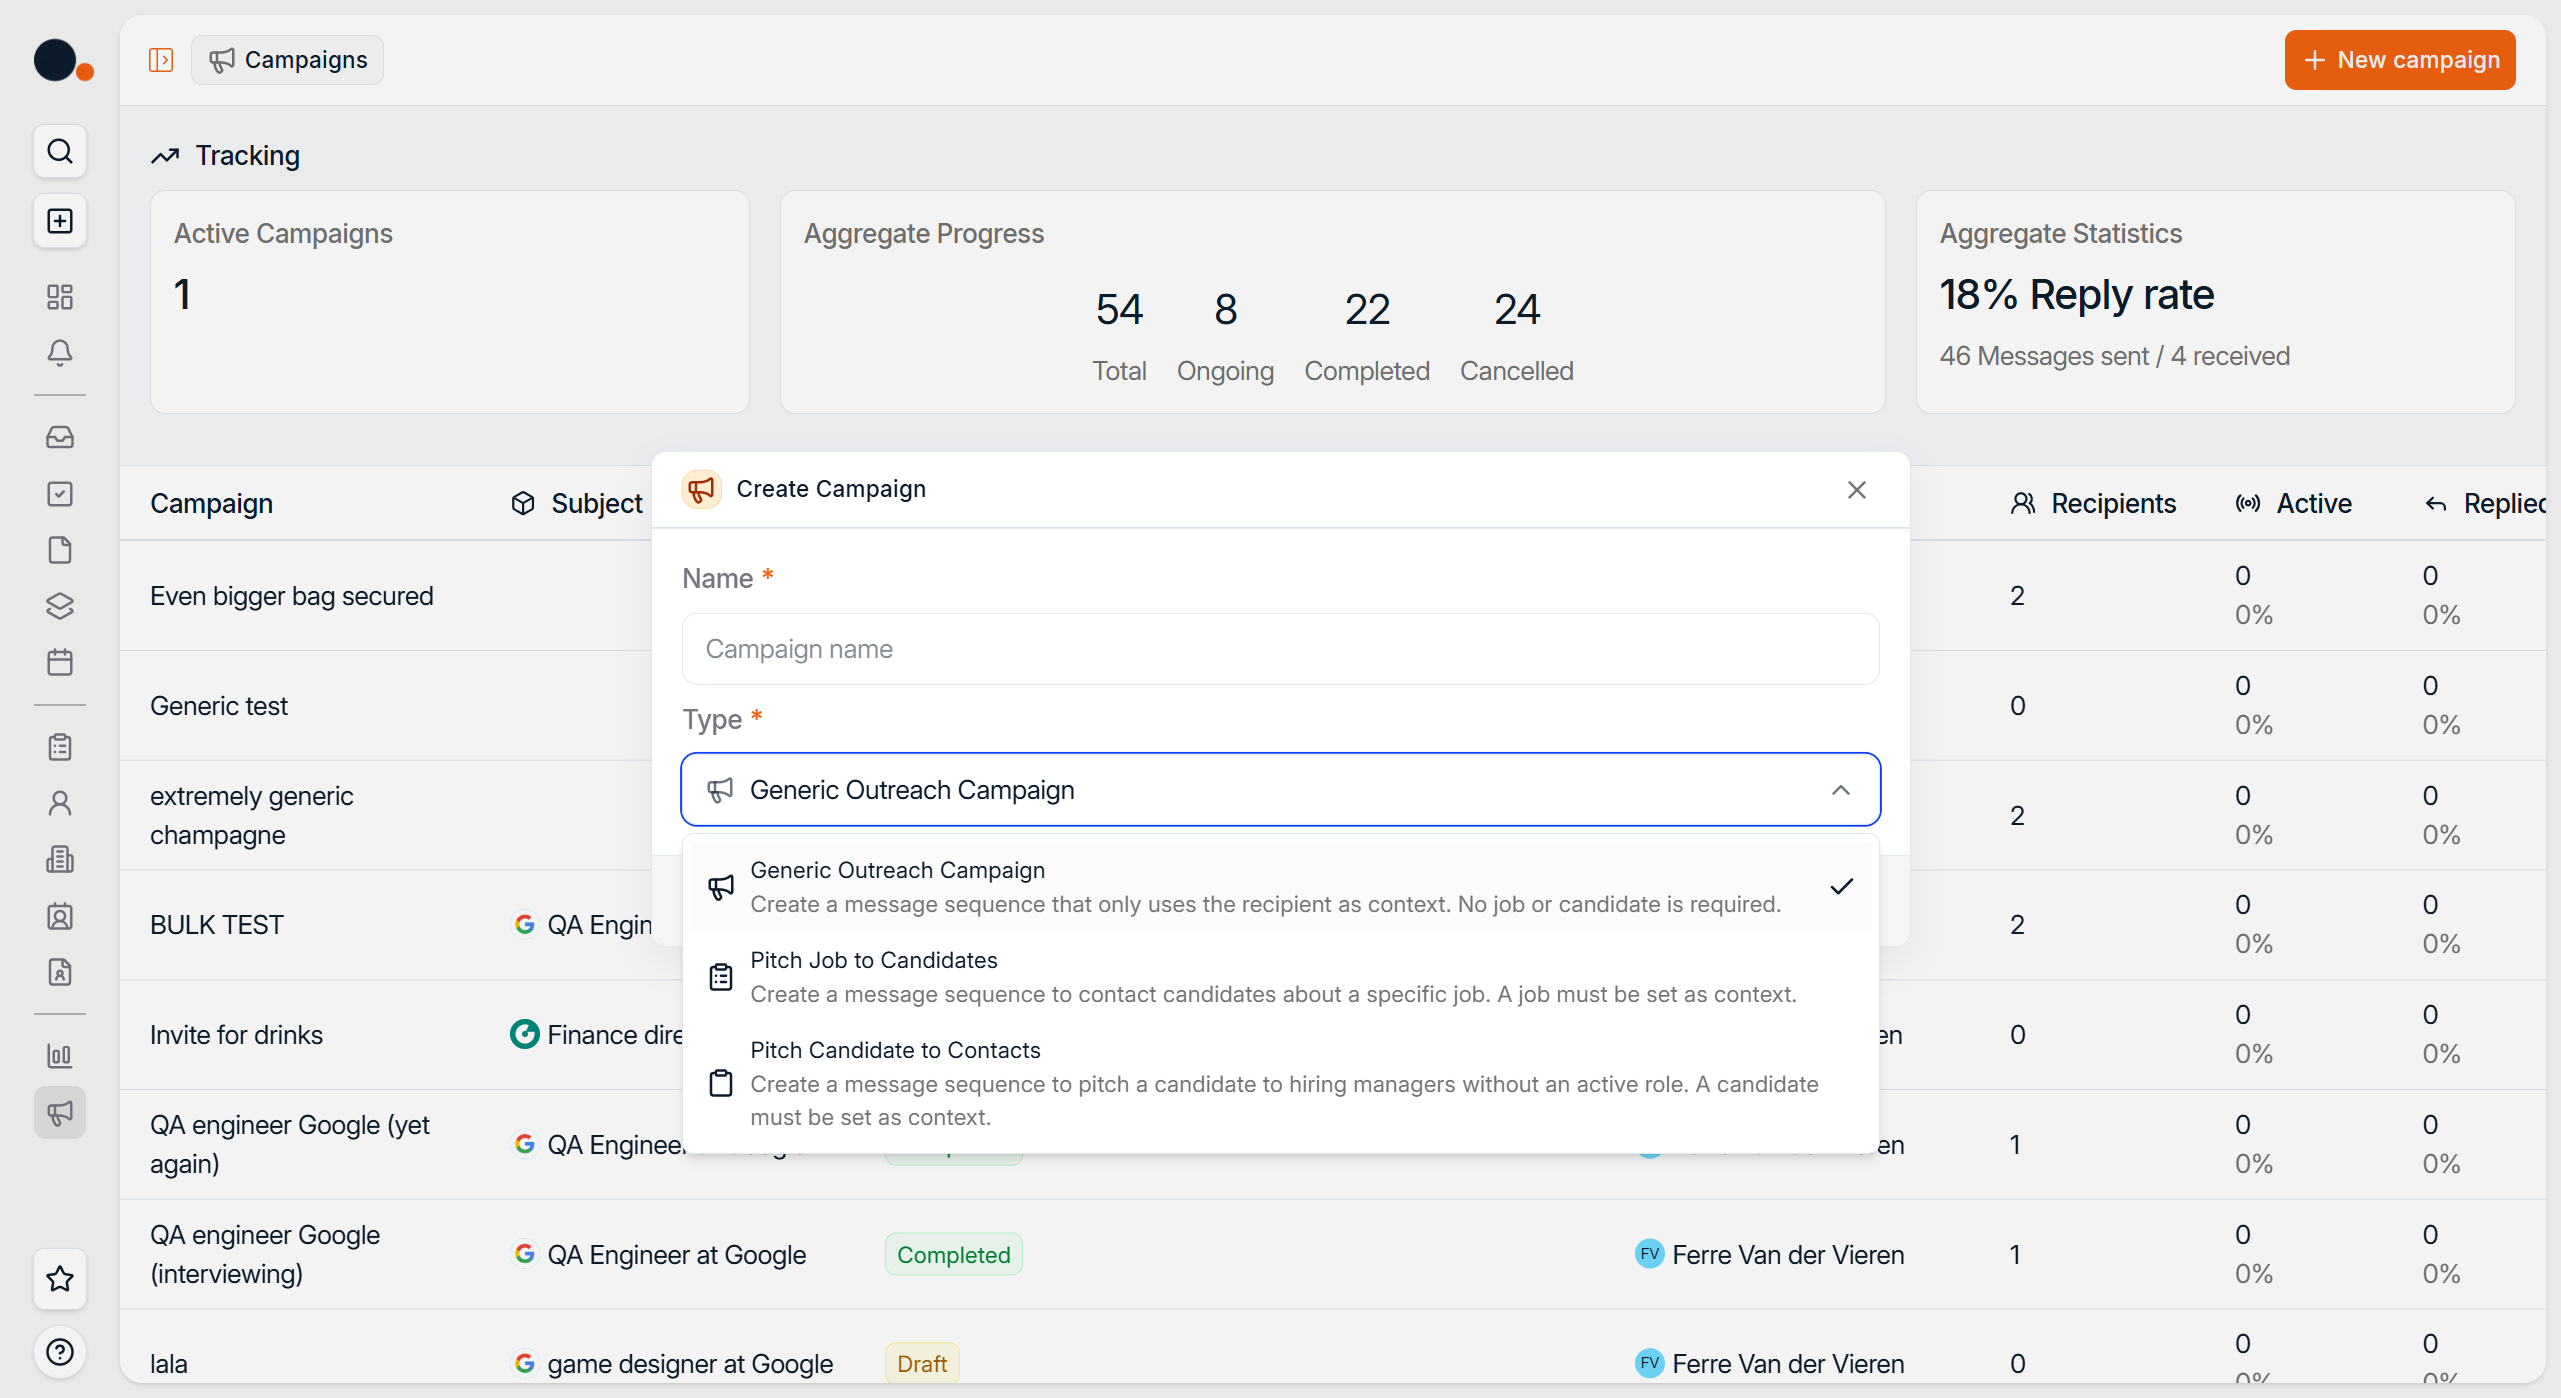
Generic outreach campaigns only requires recipients - which gives you the flexibility to set up and run sequences without needing additional context such as a Job or Client Contact.
New campaigns are created in Draft status by default
2⃣ Draft your campaign
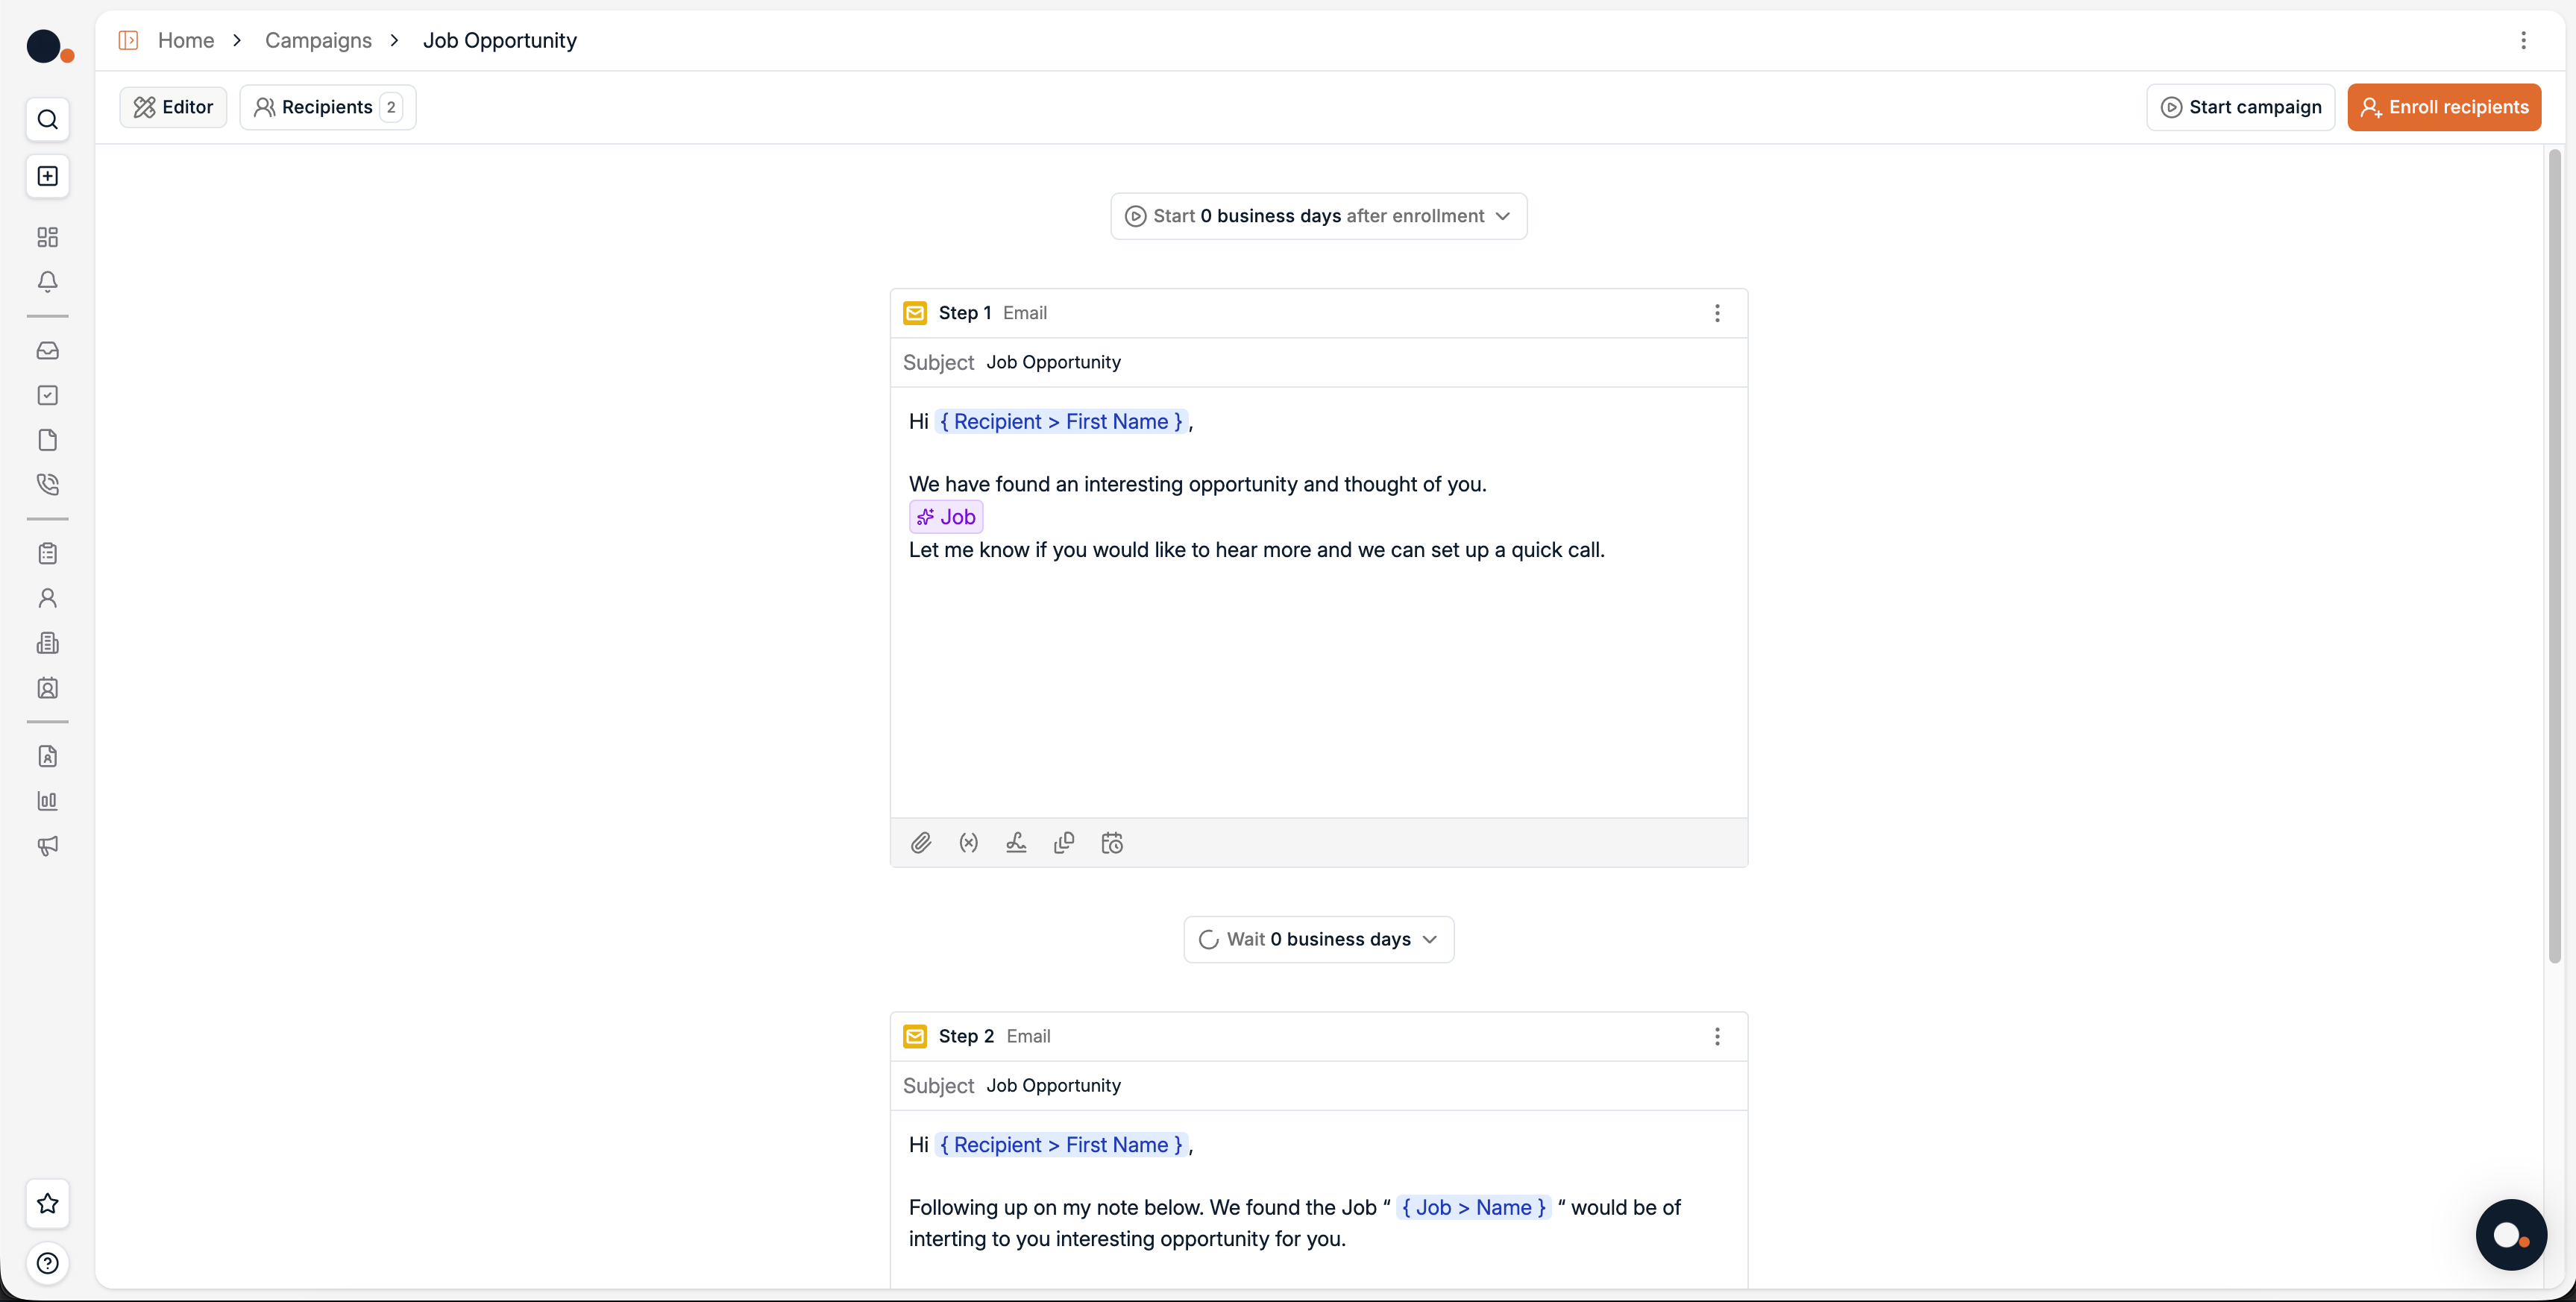
In the campaign editor, you can add one or more email steps by clicking "Add Step to Sequence". You can choose from:
Automated Steps
The following sequence steps are fully automated:
Email - Automated email, based on a template
Generic Task - Create Reminders for yourself or others
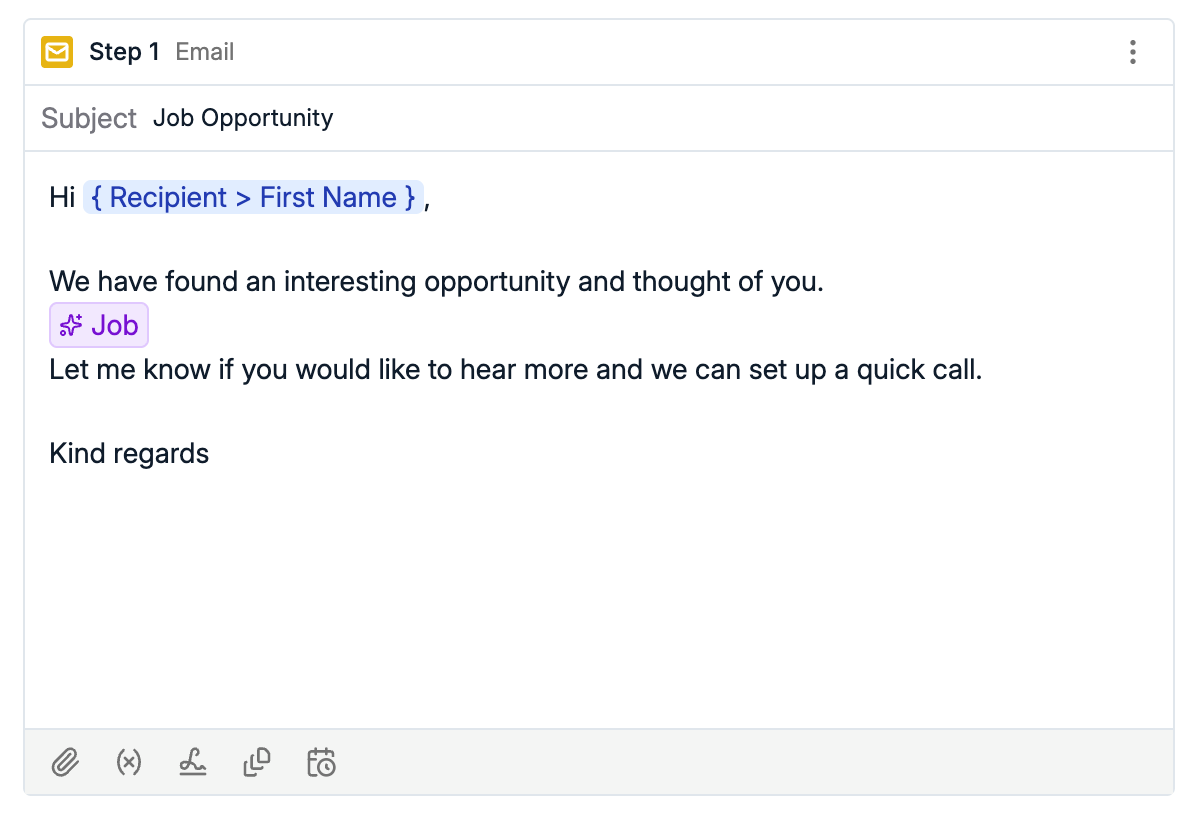
For each email step, you can configure:
Subject
Email content
You can use variables such as:
{ Recipient > First Name }, inserts the recipient’s first name{ Job > Name }, inserts the job title associated with the outreach
Variables are automatically replaced when the email is sent.
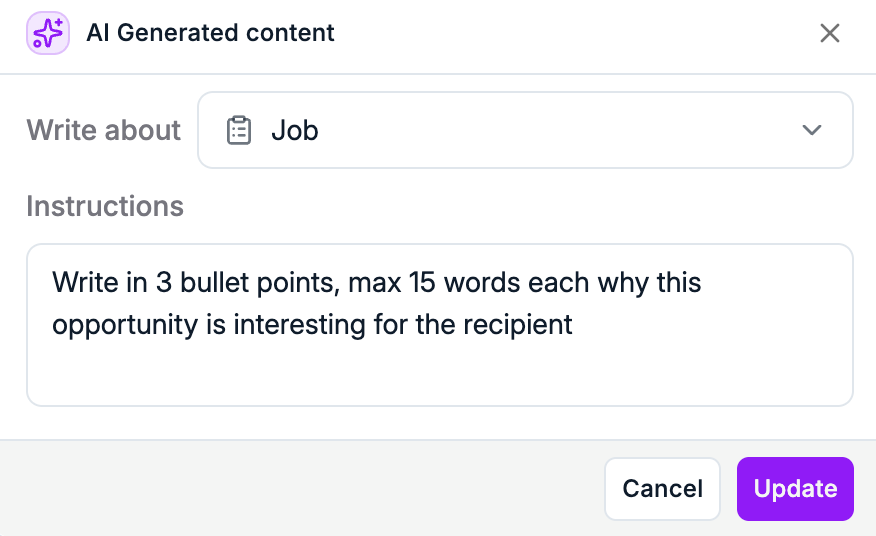
When editing an email step, you can also use AI generated content to generate text based on a selected context and instruction.
For example, you can ask AI to:
Write in 3 bullet points, max 15 words each, why this opportunity is interesting for the recipient
Manual Steps
At the moment, the following sequence steps are manual:
LinkedIn Connection Request
LinkedIn Message
Phone Call
WhatsApp Message
What this means is that when a contact reaches this step in the sequence, the message will not be sent automatically, neither will the LinkedIn request. Instead, an automated task is created, including the relevant contact details and message template prepopulated. See Examples here below:
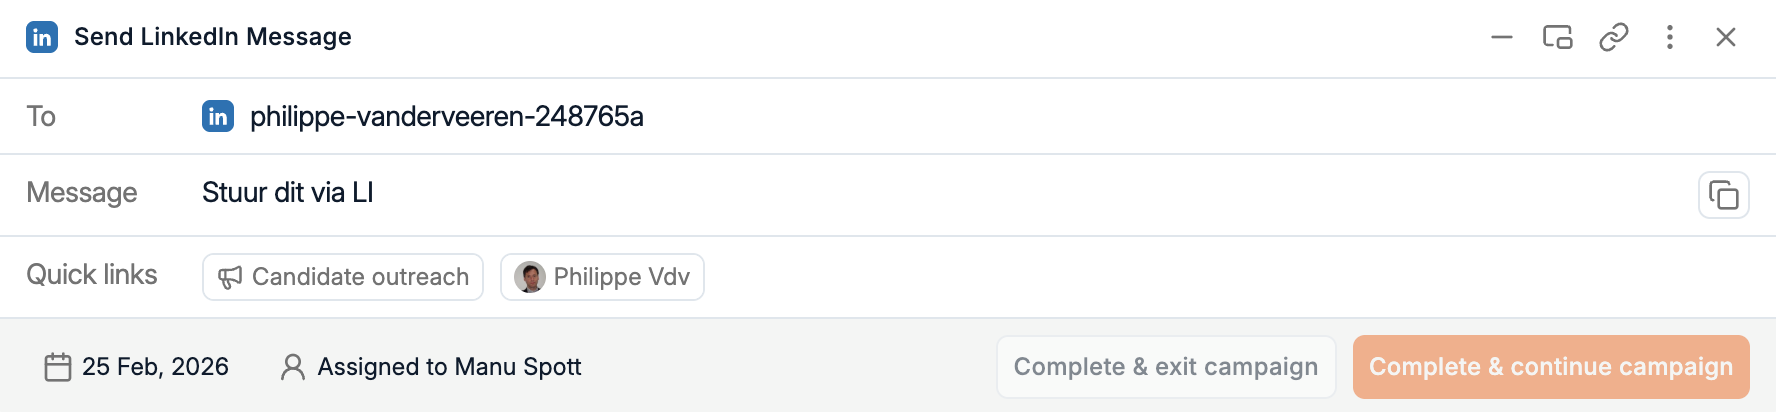
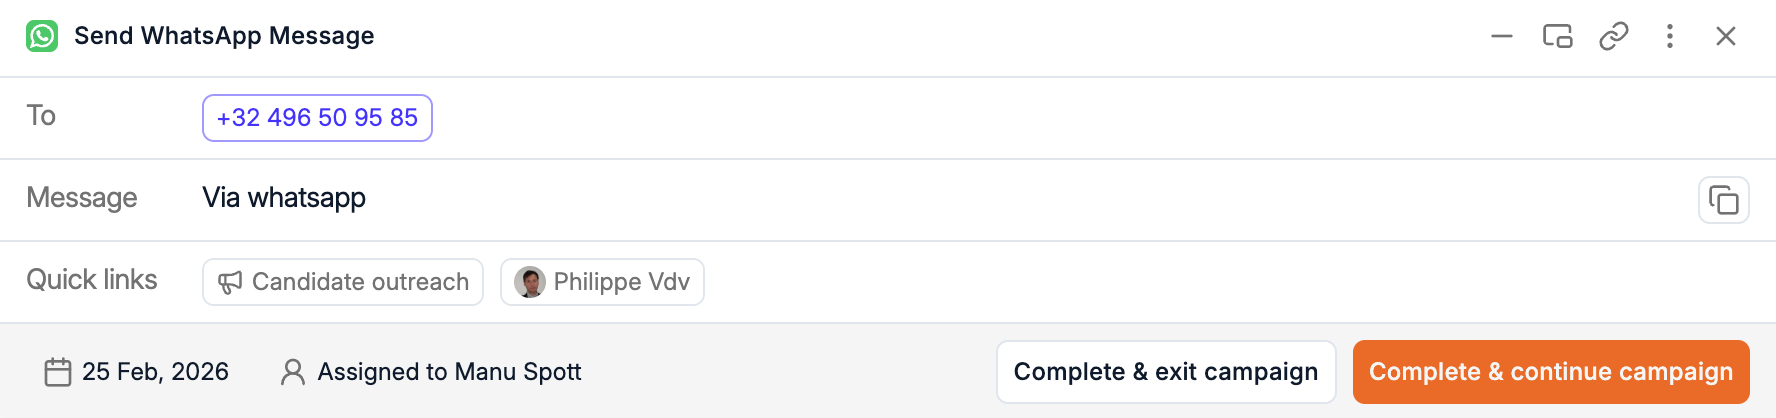

Once you have completed the task, click on one of the two available action buttons:
Complete & continue campaign - sends recipients to the next step in the sequence
Compete & exit campaign - makes them exit the campaign after this step
3⃣ Set timing and add steps
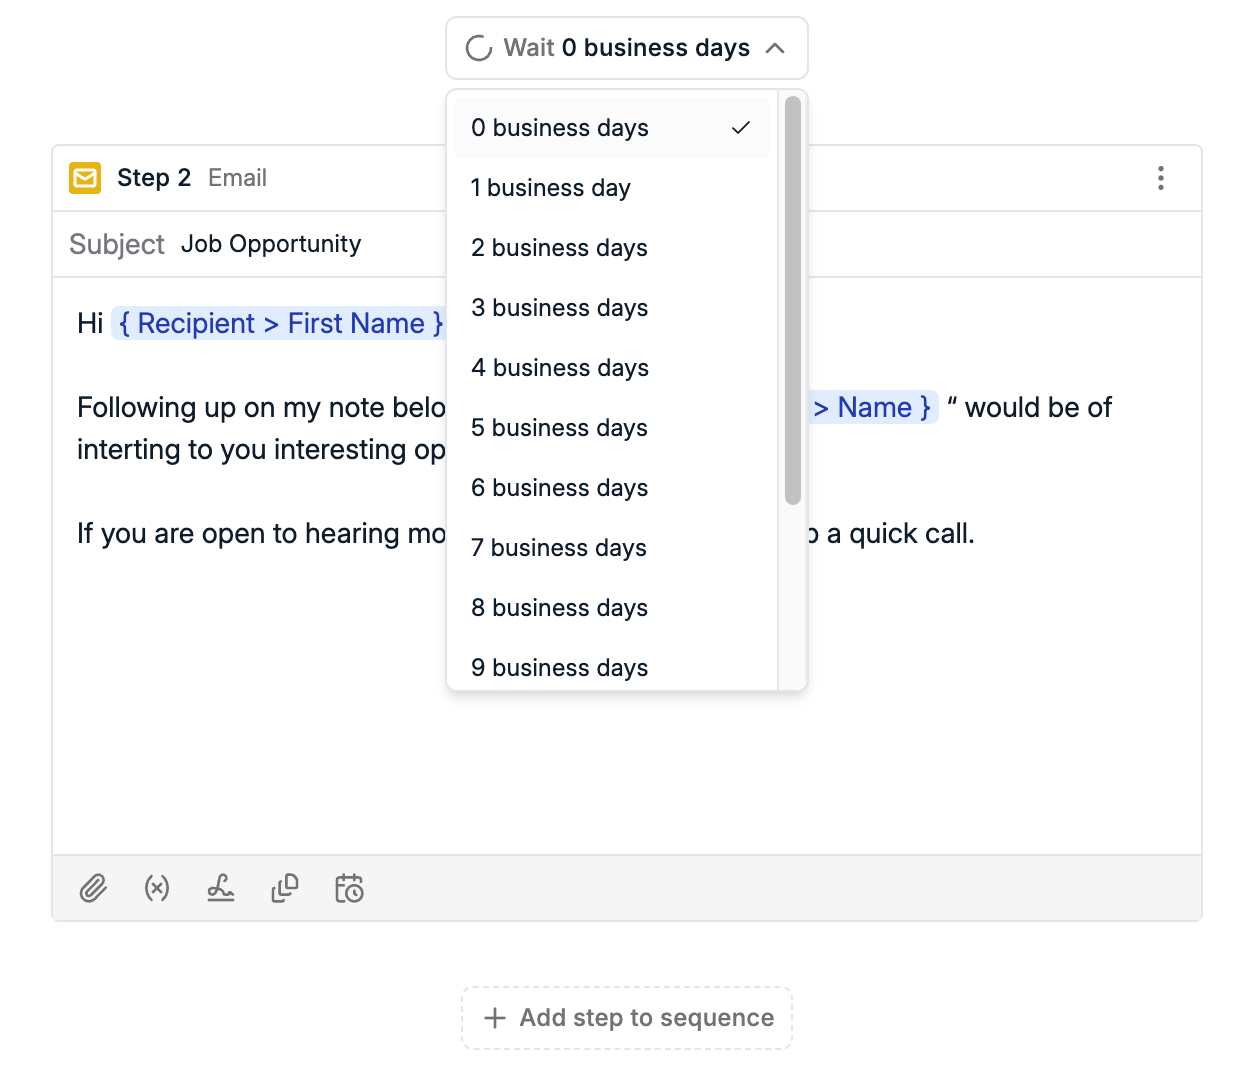
You can control when your campaign starts and how emails are spaced.
Set a wait time in business days between each email step
Choose how many business days after enrollment the campaign starts for new recipients
Add new steps to extend the sequence, each with its own timing
This allows you to control both the start and pacing of your campaign.
4⃣ Enroll recipients
Recipients are not contacted until they are enrolled.
To enroll recipients:
Open the campaign
Go to the Recipients tab
Add recipients
Click Enroll recipients
You can enroll recipients while the campaign is still in draft.
You can also enroll people in campaigns from the candidate or contact view, from lists, or directly from the pipeline, by clicking the checkbox next to their name.
5⃣ Start the campaign
From the side panel, configure Business Hours during which messages can be sent.
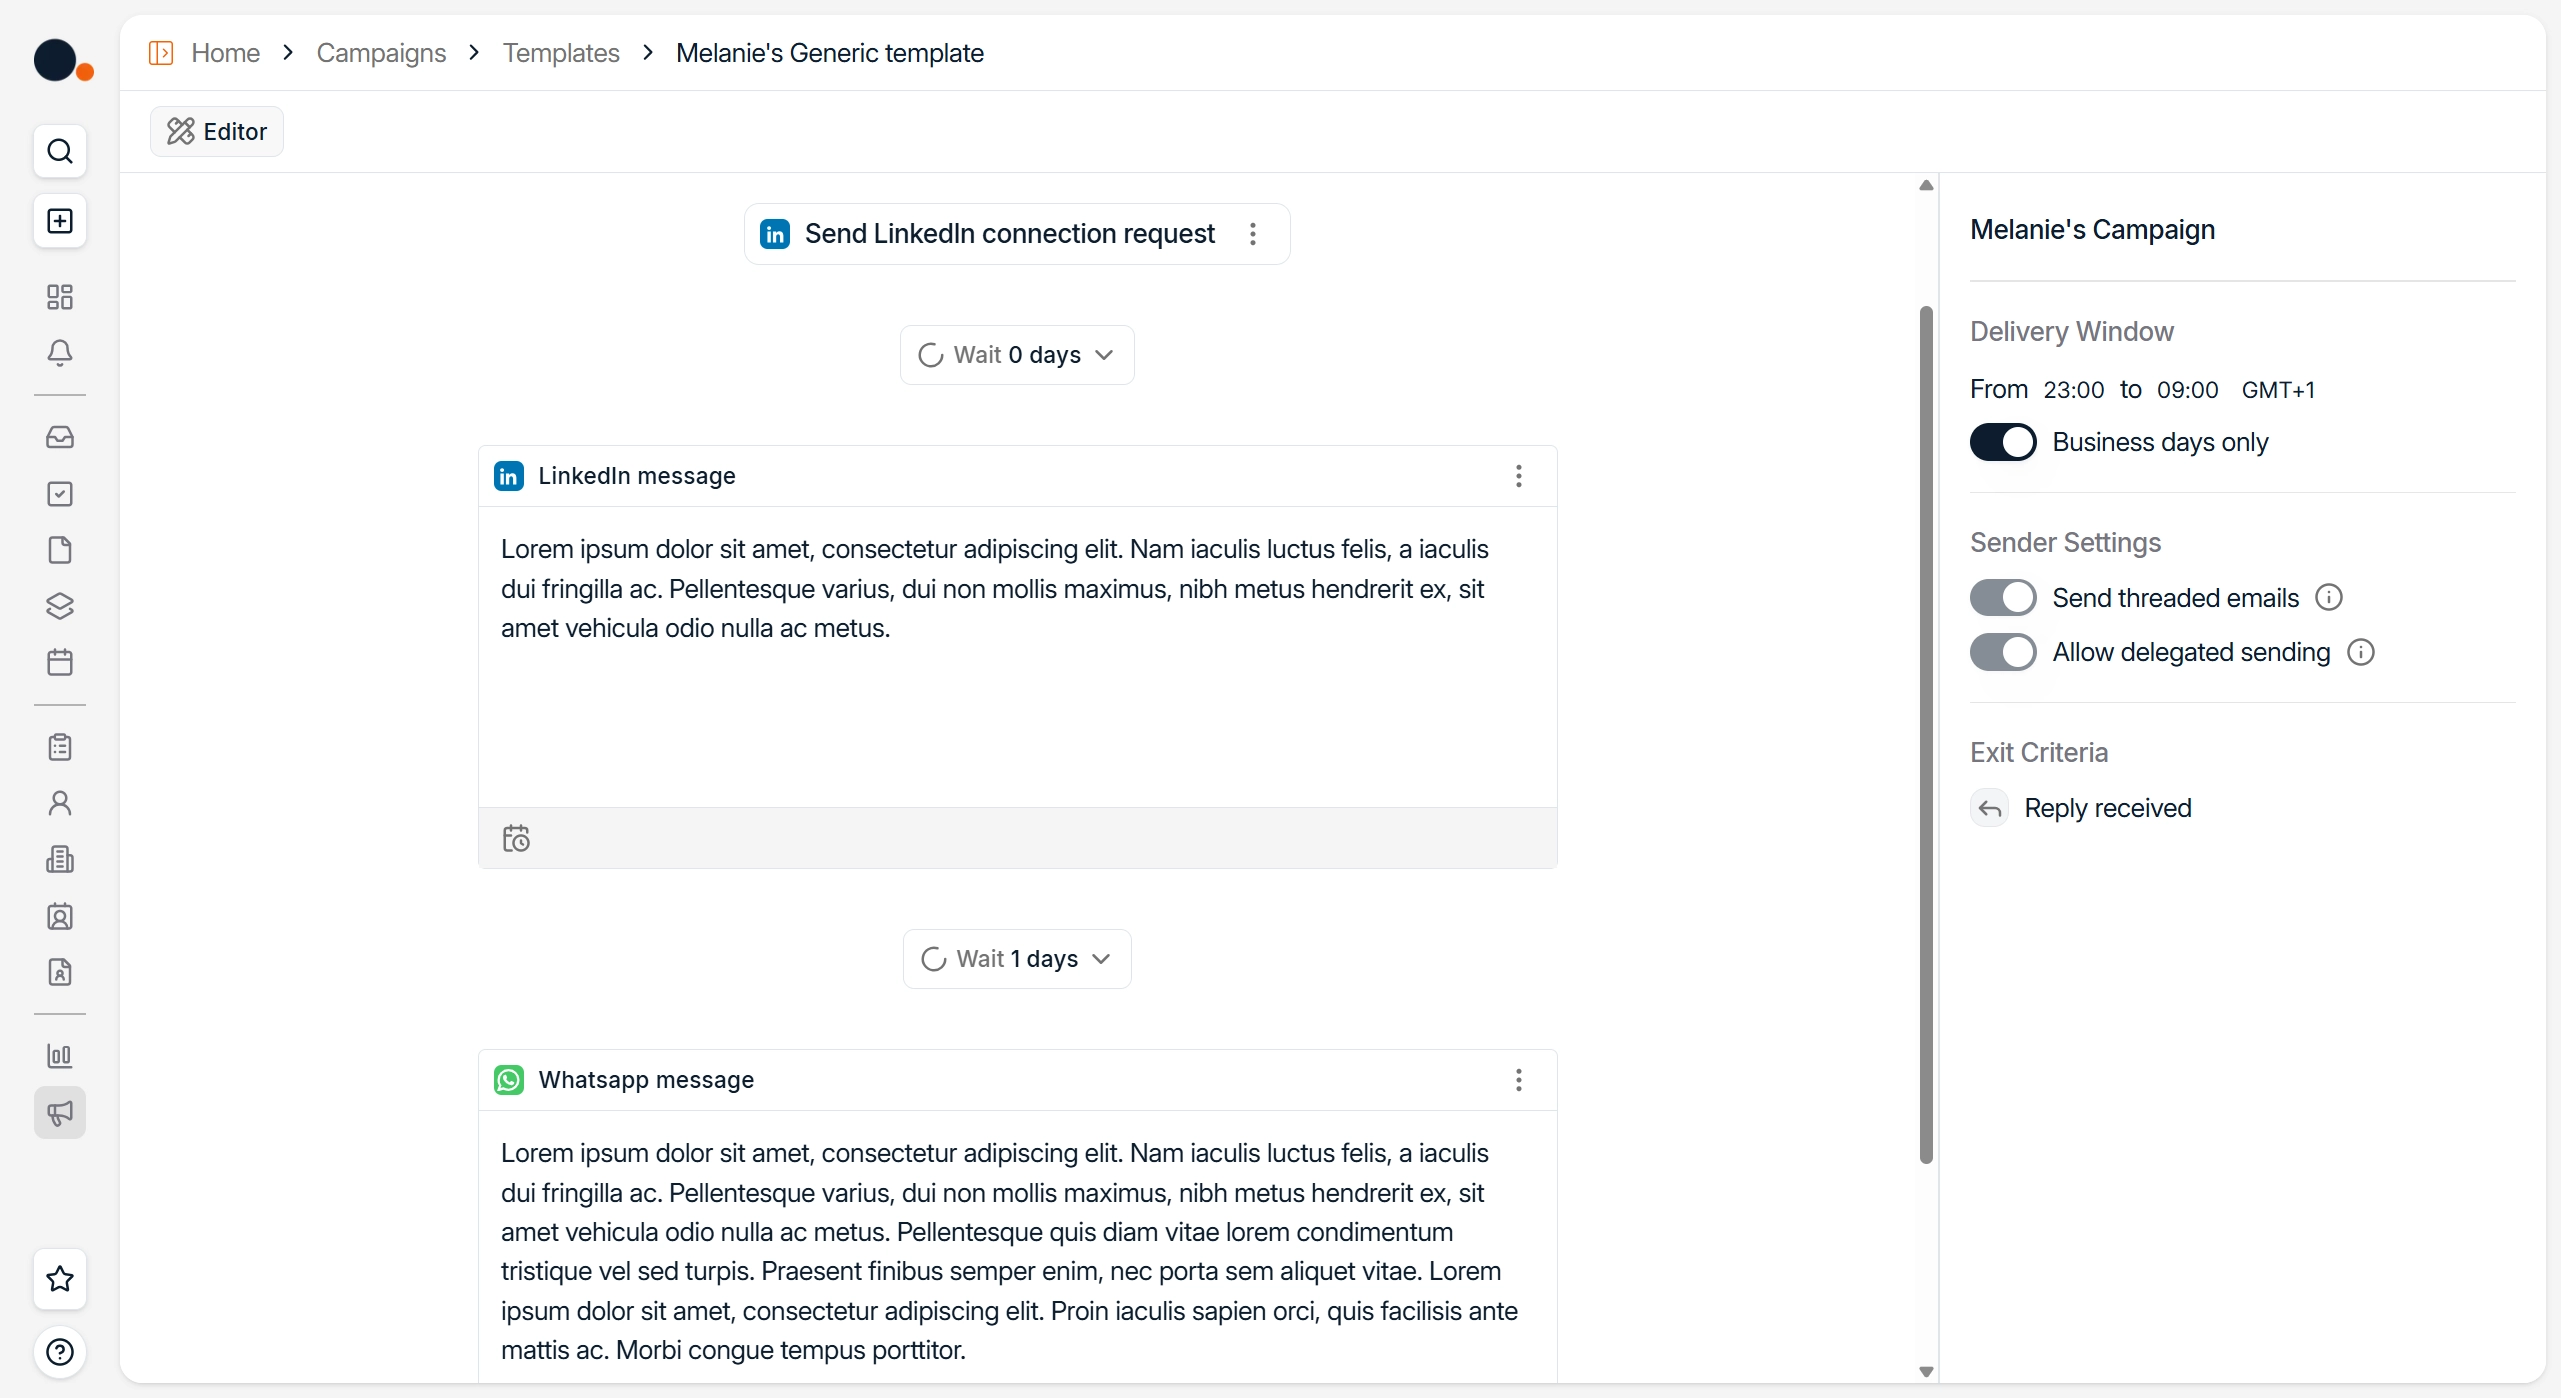
Once your steps and recipients are ready:
Click Start campaign
Emails are sent and tasks are created automatically based on the defined timing rules.
6⃣ Track Progress

From the Campaign Home, you can track campaign progress, including:
Campaign Progress
Email Reply Rate