Adding and Managing Companies in Spott
Last updated: February 26, 2026
Learn how to add a new client company in Spott and customise its attributes for better organisation, search, and reporting.
You can quickly navigate to this page using G then M.
Learn more about all shortcuts here.
Open the Companies view
From the left-hand navigation bar, select Companies to open your client list.
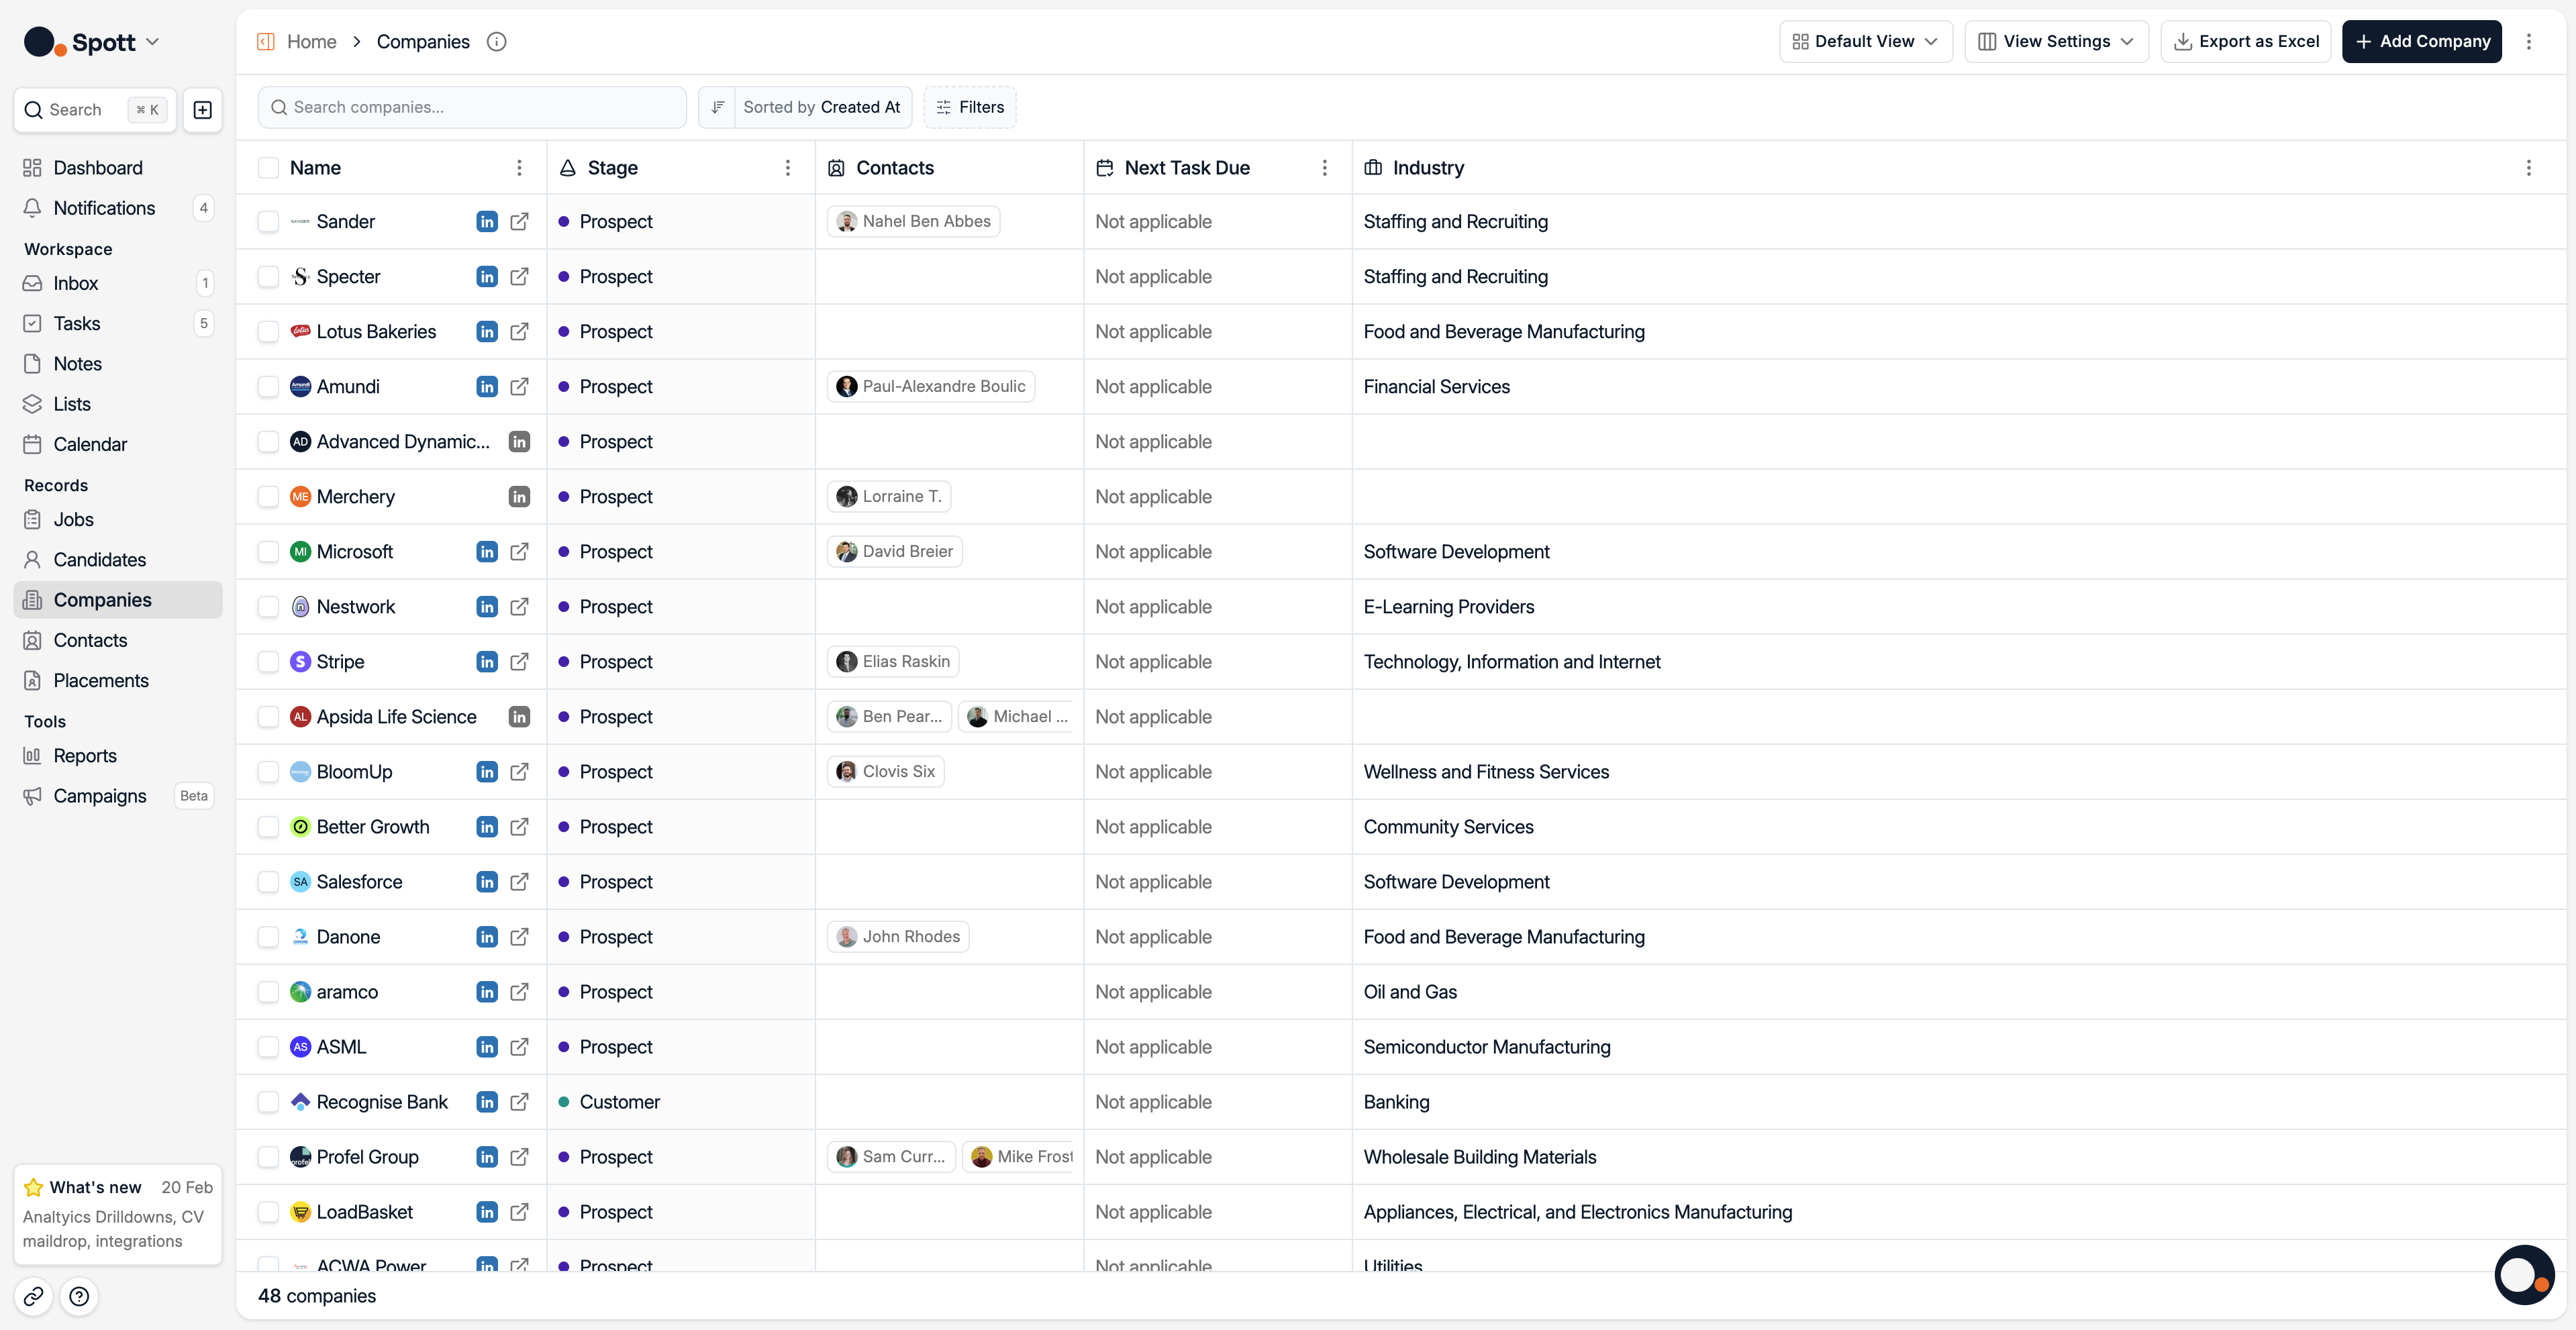
Add a new company
Click the Add Company button in the top-right corner of the page.
A pop-up form will appear where you can enter details about the company.
Fill in the company field. Spott’s database will automatically recognise known companies, adding their logo and any available public information such as website, industry, and company size.
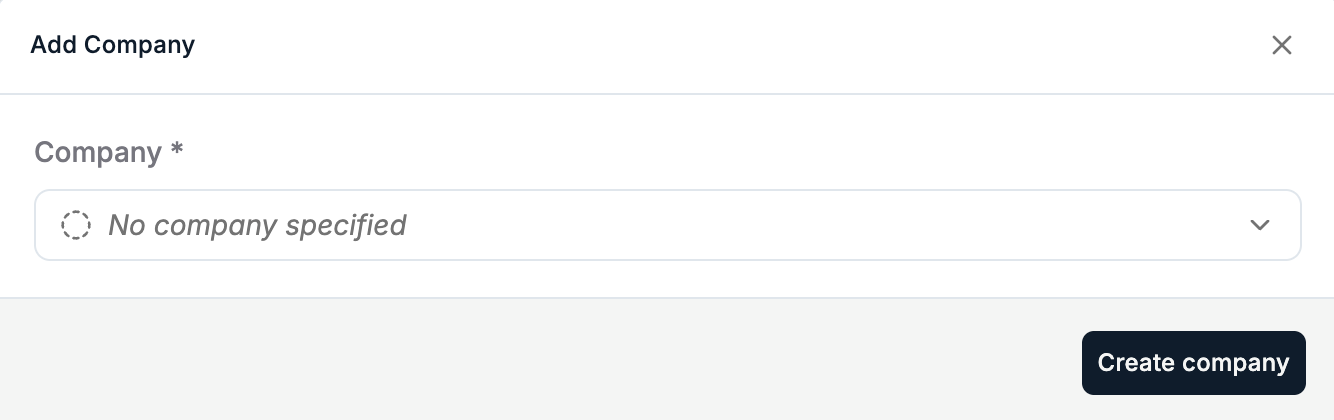
If the system does not find the company you're looking for, you can import a contact from this company using the Chrome Extension. From there you can also create a new company.
Save the company
Once you’ve entered all the necessary details, click Create company to add the new client company to your database.
Explore the company record
After creating the company, you can edit and add more information in the company record view.
This view contains five main tabs:
Jobs – Open or past job orders for this client with an aggregated overview of the pipeline
Notes – Internal notes for your team
Contacts – People linked to this company, their contact details and role
Files – Uploaded documents
Tasks – To-dos and reminders
Placements – Candidates who are or have been placed at that company
The Company Details panel on the right is always visible, regardless of which tab you are in.
Keeping your client records complete and using custom attributes will greatly improve your ability to search, filter, and report on your client data in Spott.