Managing Teams
Last updated: February 27, 2026
Learn how to create and organize teams in Spott to group users and manage permissions more effectively.
Teams help you organize members by department, office, or project — making it easier to manage roles, visibility, and collaboration.
Go to Teams settings
In Spott, go to Settings.
Scroll to the Admin section and click Teams.

If no teams exist yet, you’ll see an empty state inviting you to create your first one.
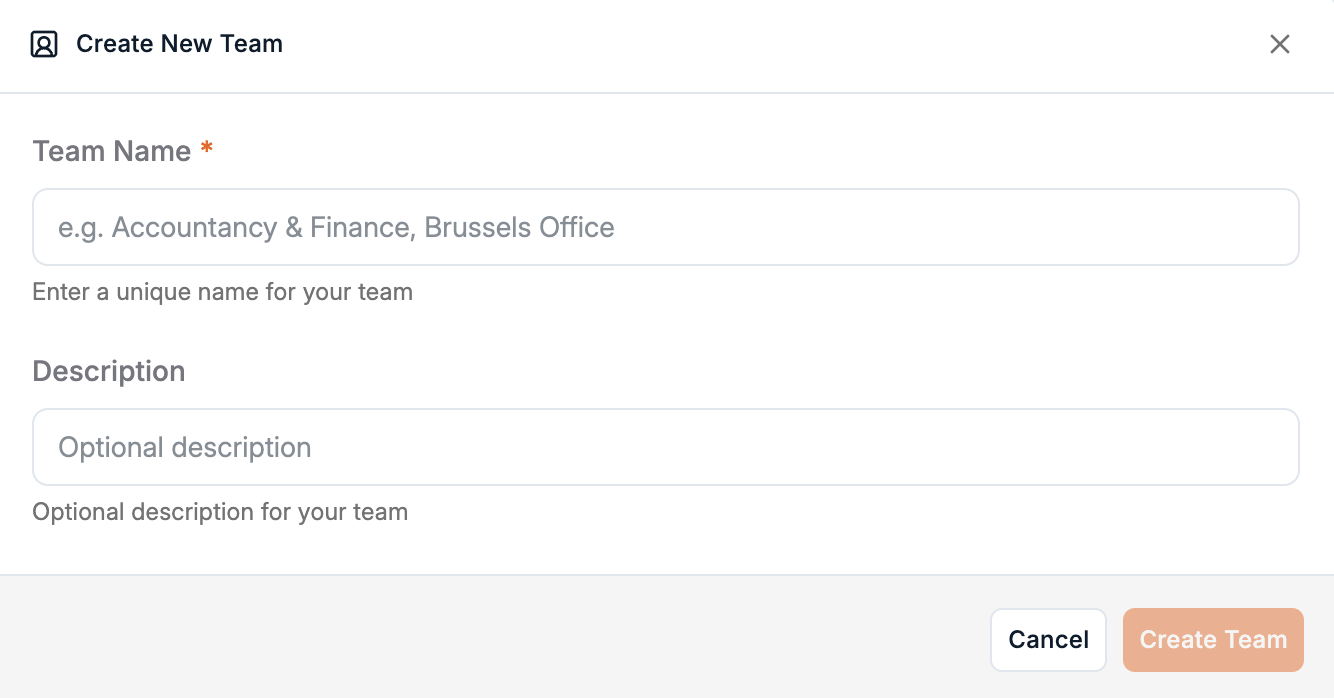
Create a new team
Click Create team in the top-right corner.
Enter a Team Name (for example: Accountancy & Finance, Brussels Office).
Optionally, add a Description to clarify the team’s purpose.
Click Create Team.
Each team can have its own set of members and permissions, ideal for larger organizations or multi-office setups.
View and manage existing teams
After creation, your new team will appear in the Teams list, along with the number of members and creation date.
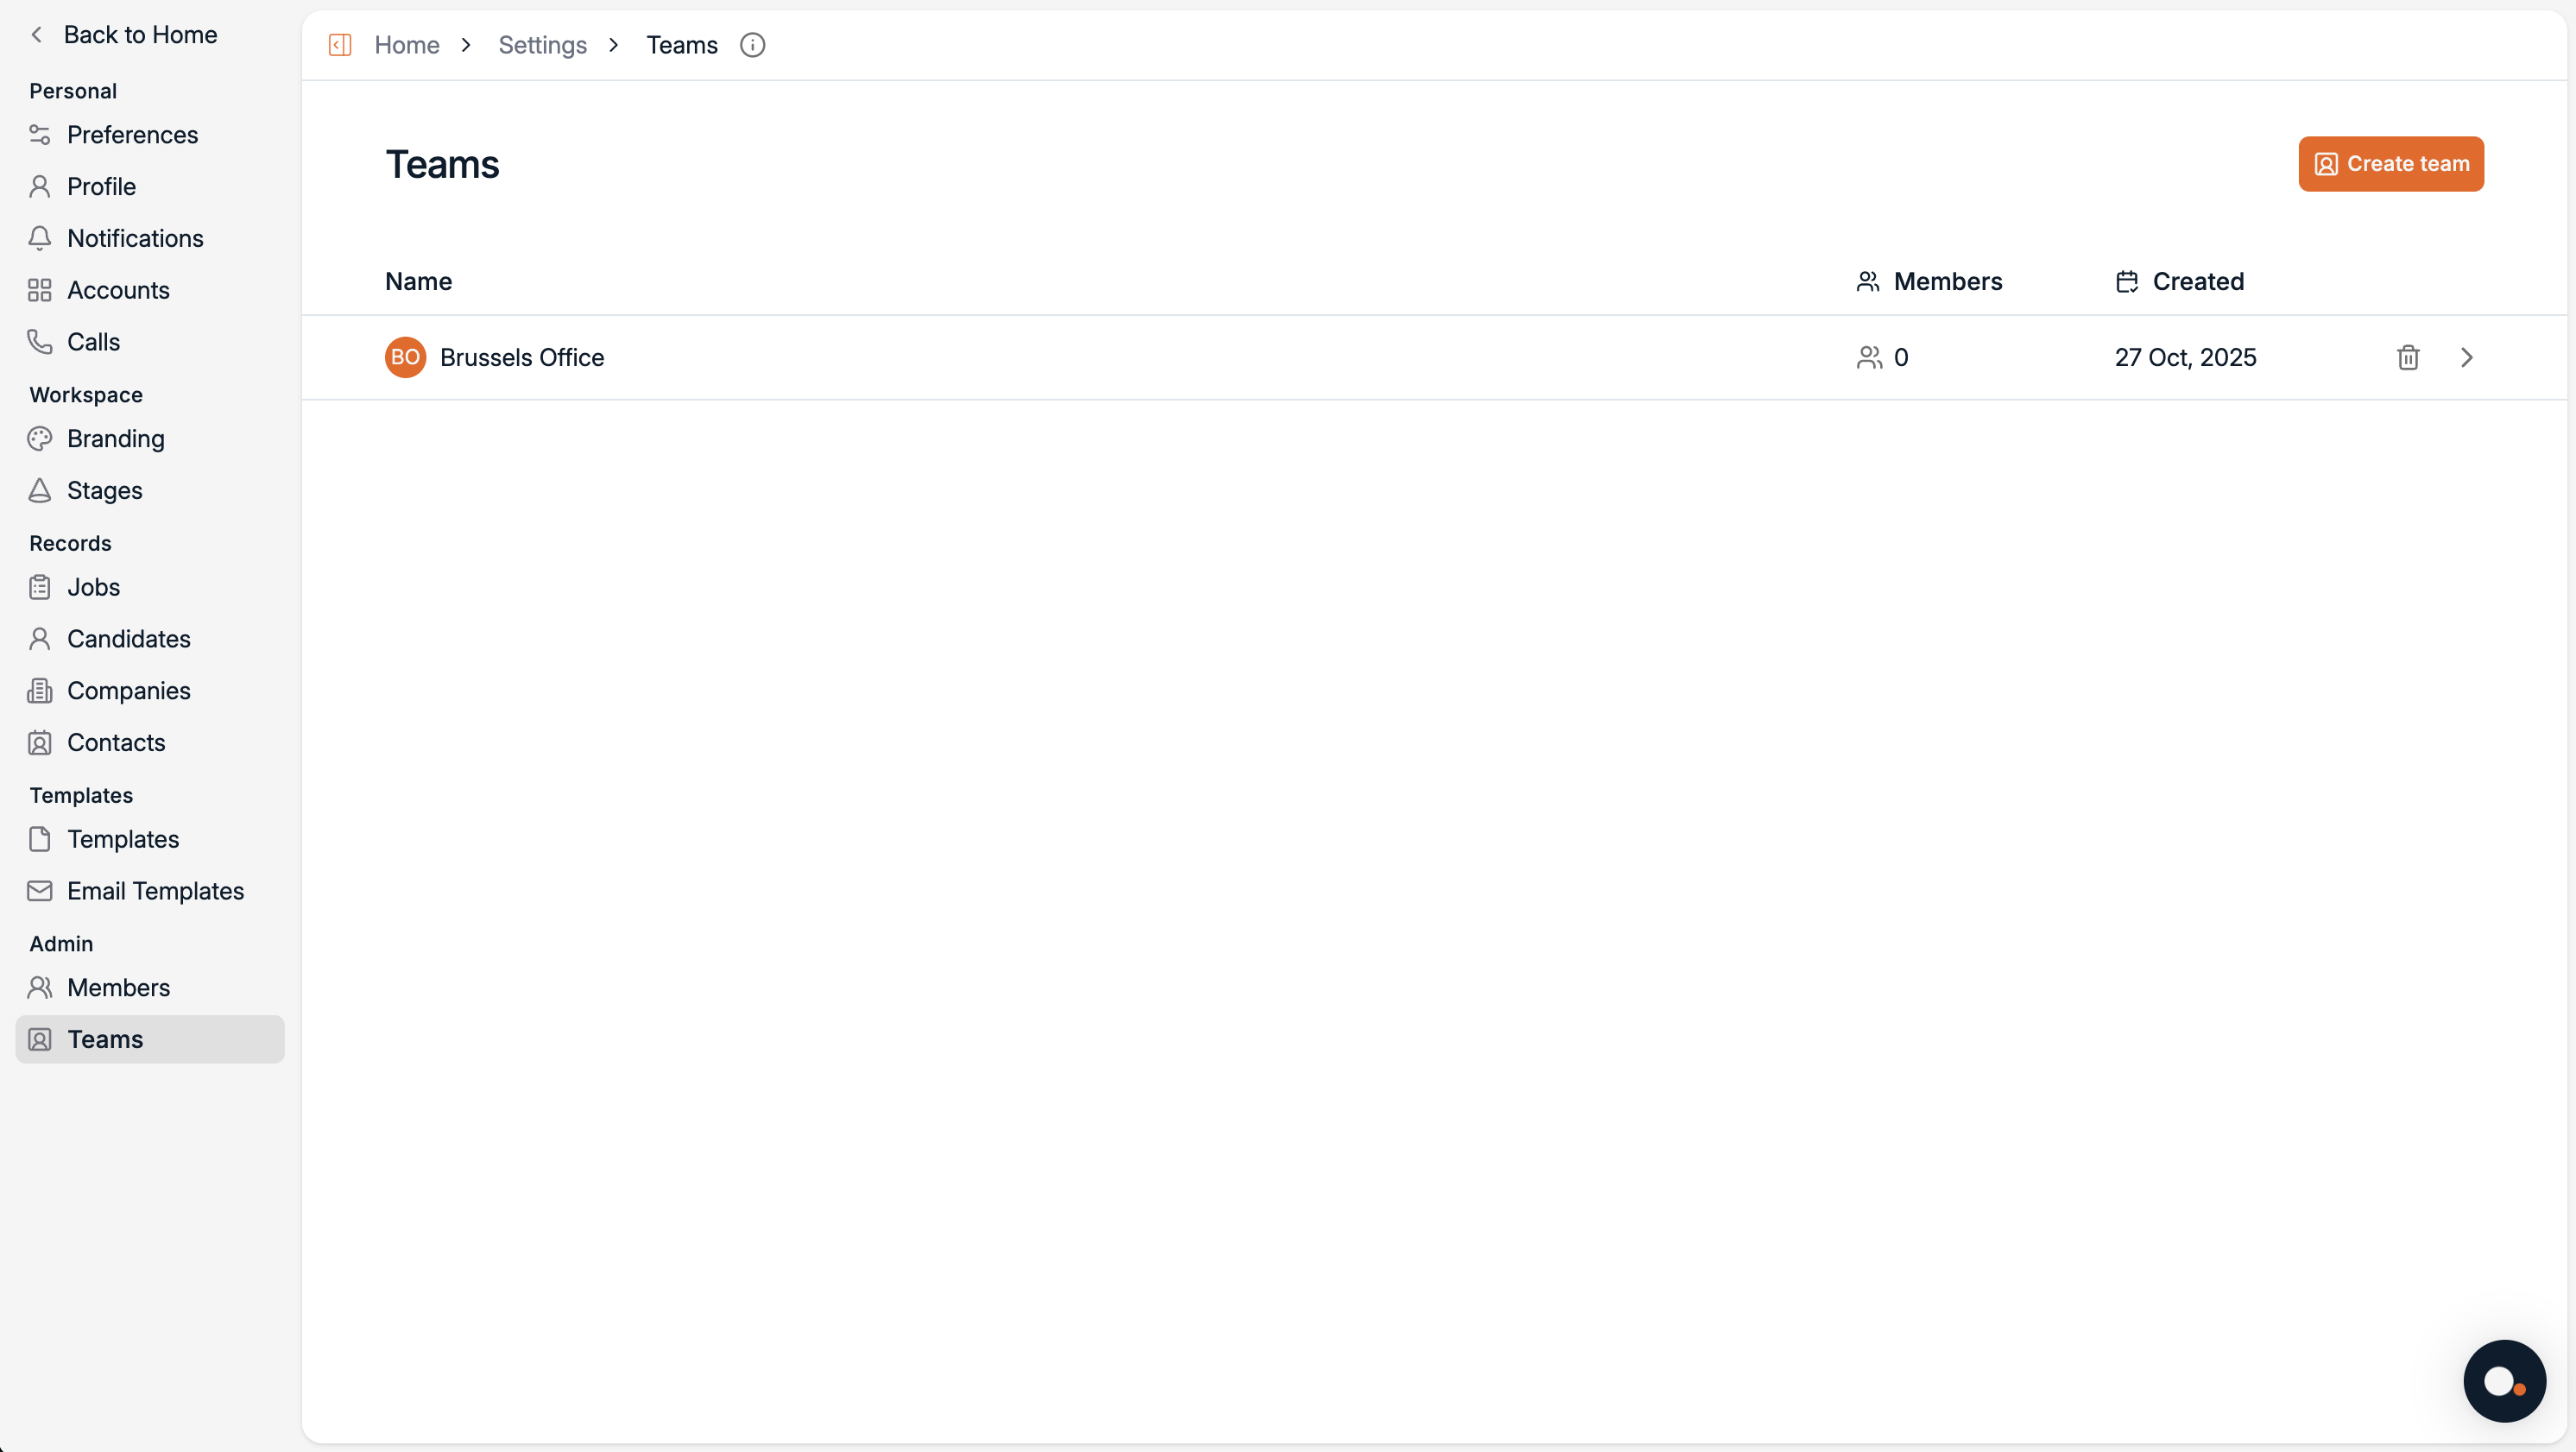
Click on a team name to view and manage its members.
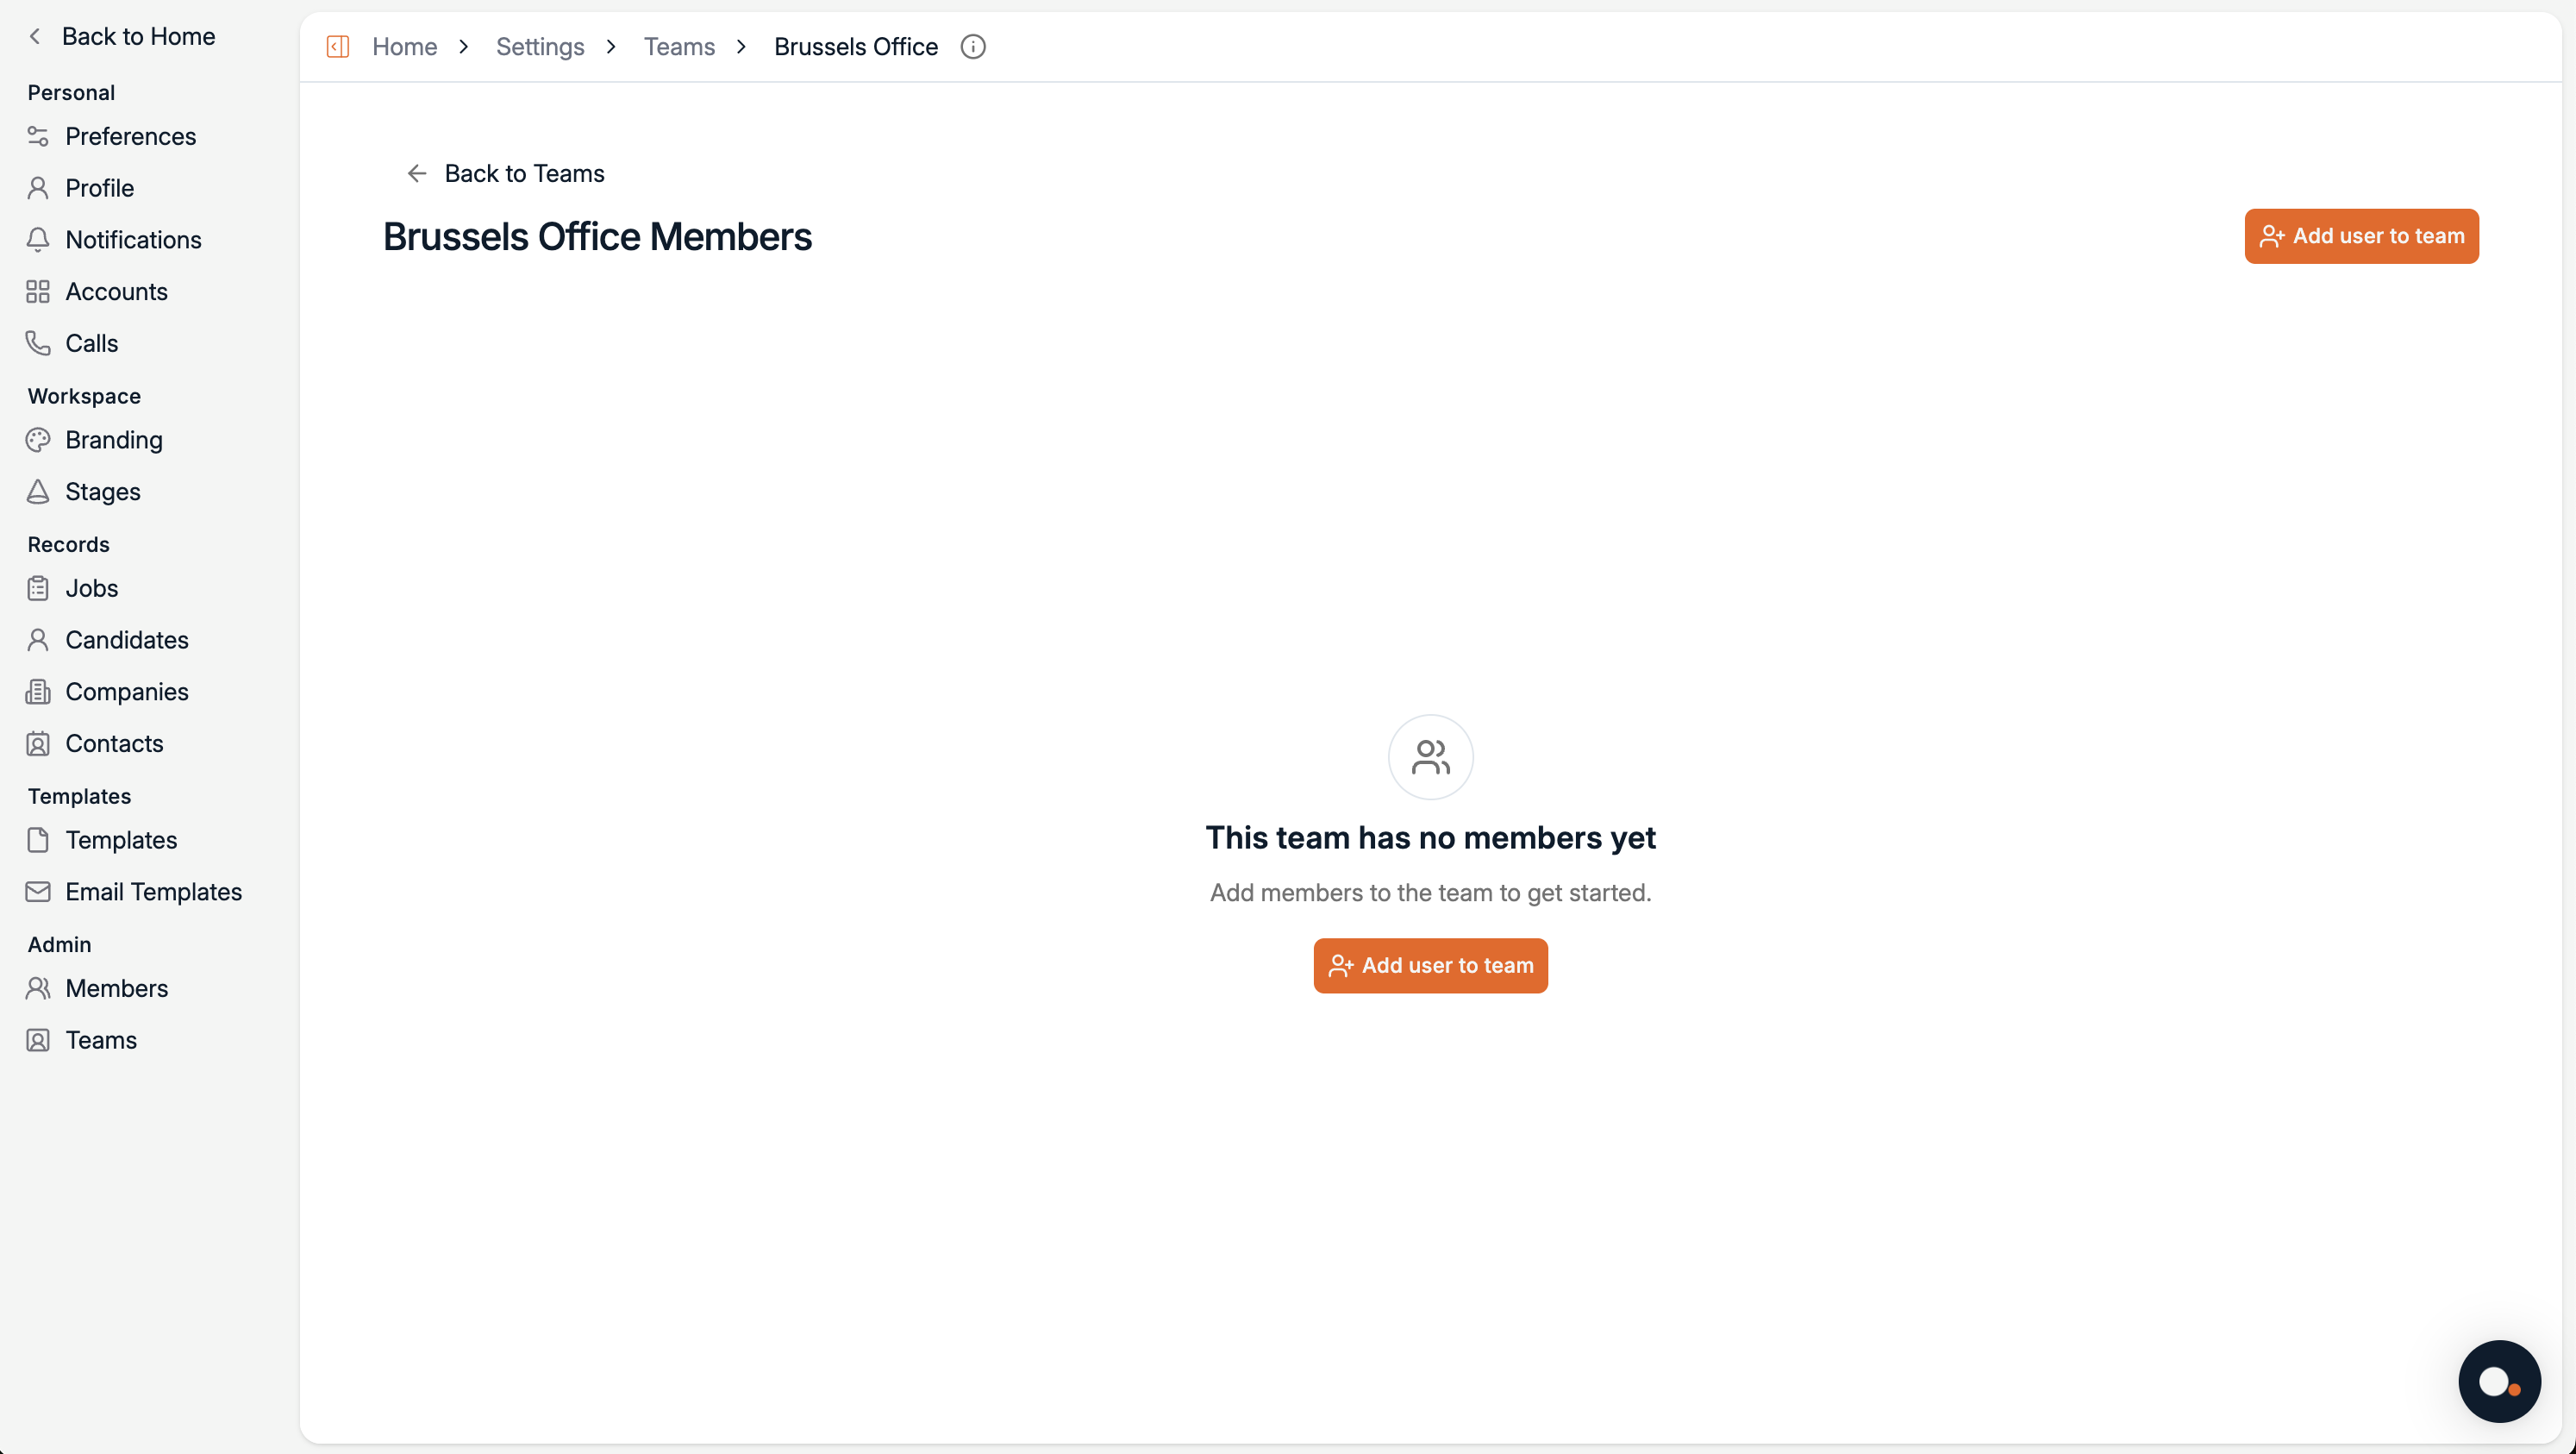
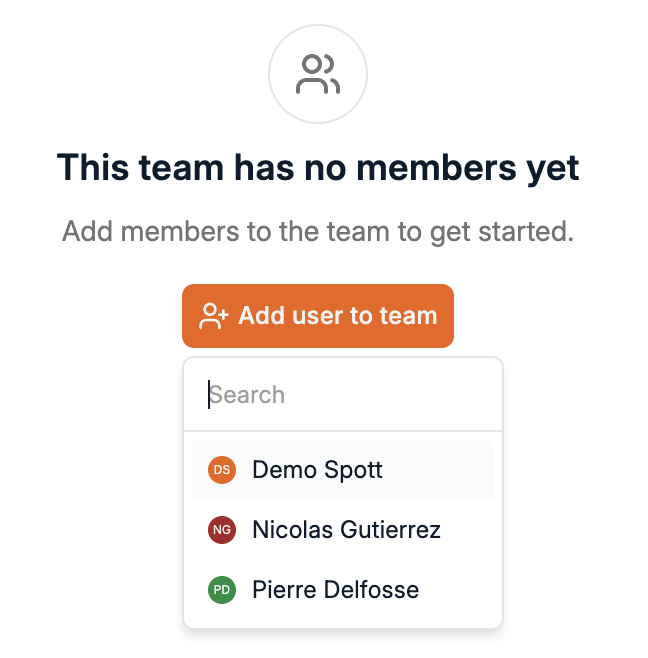
Add members to a team
Inside the team view, click Add user to team to assign existing users to this group.
Use the search box to find and add users from your workspace.
A user can belong to multiple teams. Their role and access level remain consistent across all teams they’re part of.
Remove a team or edit details
From the main Teams list:
Click the trash icon to delete a team.
Or click the arrow icon to open and edit it.
Deleting a team does not delete its members — only the team grouping.
Teams are available for Admins and Owners. Standard users can see only the teams they belong to.